In general, the main purpose of the air compressor or AC pressure switch is to give and cut off power going to the air compressor in the air conditioning system of your car.
When the pressure goes down below 25 PSI, this part will cut the power coming into the compressor, which makes it shut off at the same time.
This is especially important in extremely cold conditions as it helps to keep the AC system from freezing up.
If the air compressor pressure switch in the system of your car is defective, the most obvious sign is often the freezing up of the air conditioning system as the compressor does not turn off. In these cases, the pressure switch needs to be changed. This is a quite easy task and does not require any advanced skills so that you can perform it at home.
In the following part, we will show you 5 simple steps to replace an air compressor pressure switch in your car:
Before starting the process, you should prepare the following tools:
- A new pressure switch.
- Vacuum pump.
- Refrigerant.
- AC recovery machine.
- AC gauge set.
Now, let’s begin:
Step 1 – Remove All of The Refrigerants
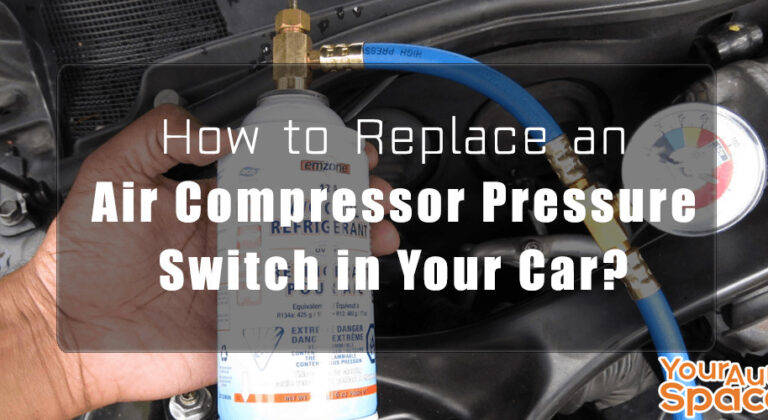
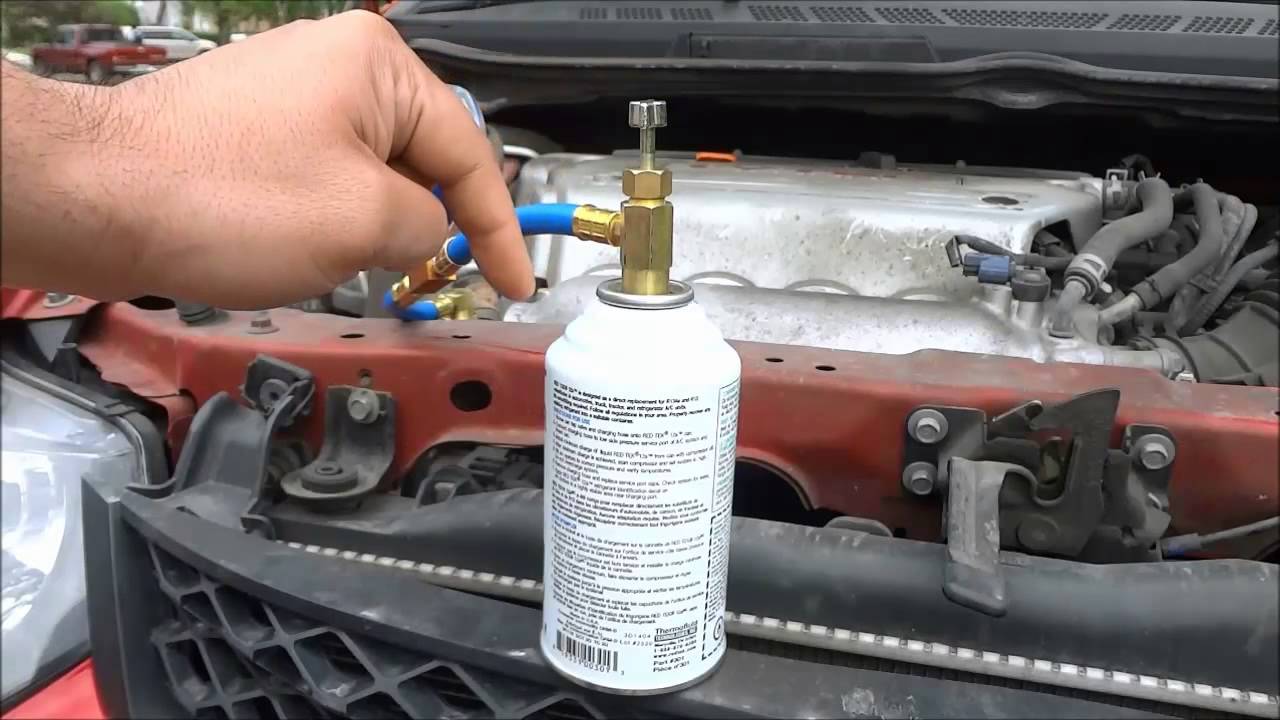
To replace the air compressor pressure switch in your car, the first step requires you to remove all of the refrigerants in the system. However, keep in your mind that it is not often suggested to allow the refrigerant to come into the air because it would make a significant contribution to greenhouse gases, which eventually leads to global warming.

Next, attach the hosepipes of the recovery machine to air conditioning ports in your car. Basically, there is a high-pressure and a low-pressure port.
If you want to find the low-pressure port, look for the bigger hosepipe coming from the compressor, to the accumulator next to the firewall.
For the high-pressure port, you can look for the smaller hosepipe from the compressor’s back. It is often found between the radiator and the condenser. After that, turn the machine on till it gets rid all of the refrigerant. In fact, you would know how much refrigerant remain with the help of a gauge.
Step 2 – Replace The AC Pressure Switch
Depending on types and models, the air compressor pressure switch will locate on different areas, so you should consult the manual guide of your vehicle to know the exact position.
After determining where it is placed, unscrew to remove it. In addition, you have to remove the rubber O-ring to which it is attached and replace it with the new one that often comes with a new pressure switch.
Keep in your mind that a pressure switch is basically up to the specification, and is designed precisely for your vehicle.

Step 3 – Remove Moisture
During the process, you need to remove all of the moisture from the air conditioning system in your car before testing and refilling with refrigerant.
Then set up the air conditioning gauge and attach it to the pressure ports mentioned in step 1.
After that, place the vacuum pump on the gauge set and turn on, along with the gauge set’s service valves. This will helps to get rid all of the moisture in your car’s system. Normally, you should allow it to run for approximately 1 hour.
Step 4 – Reapply Refrigerant
Once all of the moisture has been removed from your car’s system, you need to close the gauge set’s service valves and remove the vacuum pump. After that, set up the can tap, which often comes with the gauge set, and attach to it a refrigerant can.
Open the service valve as well the can to refill the refrigerant into your car’s system. Keep on replacing the can and adding more refrigerant till it is full. Consult your vehicle’s manual guide on the proper amount of refrigerant that you should put into the system.
Step 5 – Testing
Close all of the valves and remove all hosepipes. Then kill the engine and allow it to rest for a short time. After about 10 minutes, you need to start the vehicle and turn on the air conditioning at full blast. Lastly, check to know whether the air compressor pressure switch of your car works properly.
Leave a Reply