Step 1: Secure Electric Wires and Important Parts
Using the silver foil or the plastic bag to cover all of the electric wires and casing. If they are filthy, you could use your hand to clean them after removing most of water from the motor.
Apply the same thing with the alarm, alternator device and all of exposed air filters.

If needed, you should use tie or tape to make the plastic firm. In addition, remember to check the manual guide for other electrical engine, which you could not notice when you have a look at the motor, particularly any parts connected to the digital elements of the car.
Step 2: Put The Mat Pan under The Car
In general, letting harmful substances to run into a drain is not just bad for the surrounding environment, but it is also illegitimate. Thus, to avoid this problem, you should put a drip or mat pan under your car to gather and absorb the chemical substances from the motor and the cleaning liquids.
Always bear in your mind that the pan would need to have the proper size with the motor. If chemical substances or water do not fall in the pan, it would not work as you expected.
Step 3: Remove Debris and Dirt
Before you begin important steps, use a brush to clean surface of the motor. For example, you could remove big debris, particularly when soaking the dirt would just result in more problems. However, do not use too much force to make sure that you do not leave any scratches on the surface.
Step 4: Use Cleaning Liquid for The Engine
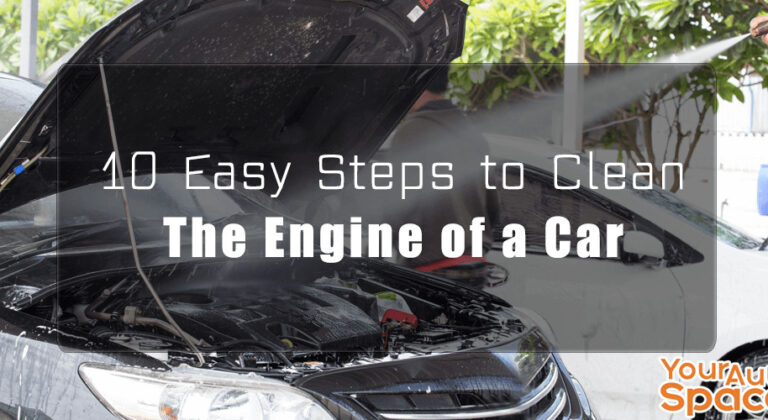
Spray the cleaning liquid on all of the engine surfaces. Be sure that you use adequate amount of liquid to eliminate the dirt.
Remember to focus on the parts of the motor that you have protected. You would not want water or cleaning liquid to spill over the plastic bag. After spraying the motor, make it soaked for about ten minutes. This is probably the most effective step to clean the engine of a car.
Step 5: Remove The Dirt Remaining
After the cleaning liquid is completely soaked, you should take a nylon brush to rub the surface. Remember to clean the grime comprehensively so that the cleaning liquid would remove all the dirt remaining on the surface. It would take you an adequate amount of cleaning liquid and a few minutes to achieve this task.
Step 6: Use Water to Clean The Engine
Turn the water hosepipe on to remove the cleaning liquid completely from the motor. If you are running a garden hosepipe, put the thumb on the half part of it to generate a little force so that you would eliminate the dirt and cleaner.

Remember that if you are using a pressure one, you would need to make the pressure at low state so that it would not do any harm to the engine.
In general, whether you are running a garden or pressure hosepipe, make sure to pay attention to the silver foil or plastic bag that you have used before.
Also be sure that the pressure does not knock off the covering and the water would not pull before you could make the motor dry. If the engine is still filthier than before, you could do from step 3 again. If you feel content with the current state, then move to the next step.
Step 7: Make The Engine Dried
Grab a towel and then remove all water that would have been on the silver foil or the plastic bag. After that, turn the air compressor on and use a hosepipe to dry the motor.

Once again, remember to take care the protected parts. Use the towel, as another choice to an air compressor, to make the surface dried. It would take you a bit longer time, but it would have the task done.
Step 8: Remove Water and Plastic Bag
After the motor and the plastic casing are completely dry, you could remove the silver foil or the plastic bag from the electric wires and casing.
Use a dry cloth or air compressor with very low pressure to make sure the parts of the engine are completely dry.
Step 9: Turn on The Engine
To eliminate any excessive amount of water remaining that you would have missed, you could turn on the motor in a few minutes to speed up the evaporation of the remaining amount of water. In general, the motor does not necessarily need to be dry completely before you run it, but make sure to dispose all the silver foil and plastic bag first.
Step 10: Relax and Enjoy The Result
At the end, take a few seconds to enjoy the result that you have made an effort to achieve with your car. Many car owners often do many things just to show off with the others, but this time, you could do it for yourself.
Leave a Reply