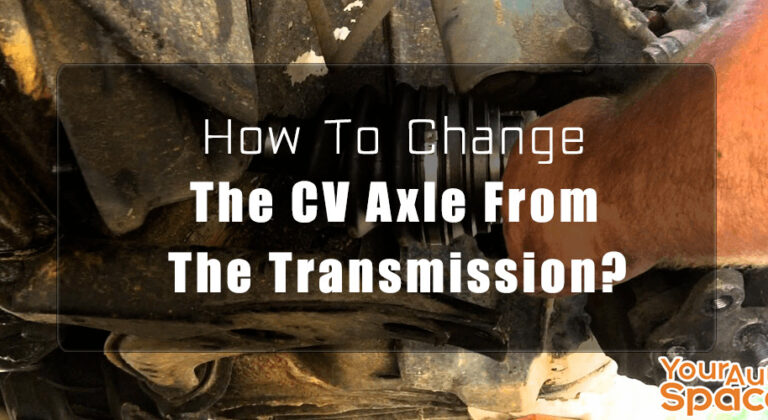
In a front-wheel drive car, the boots and other assemblies on the CV axles can go wrong, develop holes, leaks or lose grease. To keep your vehicle running correctly, sometimes you need to change them. Luckily, it is possible to perform this task yourself.

What you will need:
– A car jack – Jack stand – Penetrating lubricant – Needle nose plier – Socket wrench set – Brake cleaner – Cotter pin – Pry bar
I. Remove the axle nut of your car
Step 1: Remove the hubcap

Before jacking up your car, it is necessary to remove its axle nut. First, you need to remove the hubcap of the respective wheel of the CV axle that you are going to replace. For a model with rims, you might simply find a cap in the wheel’s center instead of a hubcap.
Step 2: Remove the cotter pin
In case your car is designed with a cotter pin connecting the axle nut, it is important to remove it. In general, this pin help resemble the bobby pin with the parts folded back to secure it.

To straighten both bent ends, you might need to apply pliers before removing it. If the pin gets stuck, you can spray a penetrating lubricant to make it easier.
Step 3: Take off the axle nut
After removing the cotter pin, it’s time to take the axle nut off your car. It might take considerable torque to perform this task. This is the reason why it is a lot safer to take the nut off before jacking up your car.

Unluckily, axle nuts don’t have a typical size, so the required socket size might be different for various car models. The accessories department at any certified dealerships would be able to give you the precise size when you need to check before beginning your task.
II. Remove the brake assembly and wheel
Step 1: Jack up the proper side of your vehicle
Now you have to take the wheel off by lifting the car. To know the exact place to jack up the car, you should consult the manual guide, and also make sure that you choose an area on the frame. Remember to double-check that the car is still in park and the parking brake should be engaged before starting to jack up your vehicle.
Step 2: Put the car on jack stands
After lifting the car enough to put the jack stand, ease back it down to the stand, which is often more stable than a single jack.
Step 3: Take off the wheel

When you remove the hubcap, the lug nuts connecting the wheel might be exposed from. If you are changing just a tire, it is necessary to remove the wheel and the lug nuts in same way.
Step 4: Take the brake caliper off
Once taken off the wheel, the brake rotor and brake caliper would be obviously visible. Generally, the caliper housing is known as a larger piece secured onto the exterior of the rotor.

The caliper should be kept in place in a mounting bracket by bolts on the rotor’s rear side. The specific technical detail will be dependent on the model and make year of your car. In most cases, the mounting bracket often 17-milimeter bolts.
As the caliper is attached to the brake line of your car, you might need to keep slack in a brake line rather than allowing it to hang. In fact, you can simply hang the caliper with a short bungee cord to take it out of the way without placing too much tension on a brake line.
Step 5: Unbolt the exterior tie rod
Literally, the exterior tie rod is a rod attached to the steering knuckle that is located just behind the engine’s rotor. This part will often be bolted with a 17-milimeter bolt.

Just like an axle nut, that bolt might be secured in place by using a cotter pin. In some cases, it might be more simply to remove the bolt and pin with the help of penetrating lubricant.
Even when you have removed the bolt, the tie rod might be still quite snug in a steering knuckle. Use a hammer to tape the steering knuckle joint to remove it.
Step 6: Remove the hub
2 more 17-milimeter bolts will secure the wheel hub to a strut tower. After removing those bolts, the hub only needs to be attached by the axle via a center hole, and you must be able to take it off easily.
Because those are real bolts, you might need to attach their heads while loosening the nut to prevent them from turning.
III. Remove and replace the CV axle
Step 1: Locate the CV joint
By following the axle back, you can find the actual joint, which often slides in the transmission. To pry the CV axle from a joint, you can use a flathead screwdriver or a small pry bar.

If the axle does not come loose immediately, try to break the seal by twisting it back and forth. It is usual for the transmission fluid to leak out when you are removing the axle. Therefore, remember to prepare a catch pan. In your car, the axle might need to pass through an enclosed part called the wishbone before it is completely free. To help an old axle come through, you can take off the band from an interior boot.
Step 2: Place the new CV axle to the transmission cover

Just like when you remove an old CV axle, place the new one on the same area in your car’ transmission cover. In general, the peg would slide in till the axle is flushed against the cover.
Step 3: Insert the axle again via the hub assembly
You need to reinsert the new axle to the center of your car’s hub assembly in the same area where you remove the old one.
Step 4: Fasten the assemblies again
Start from the strut tower to the hub assembly, fasten all of the bolts that you have removed. After that, reattach the exterior tie rod to the next steering knuckle as well as the caliper.
Step 5: Put the wheel back

Now you can reattach the wheel on your car. After completing this step, you could lower the vehicle off the jack stands and the jack.
Step 6: Strengthen the axle nut.
Lastly, you should tighten the axle nut after lowering the jack to place the car on the ground. Ensure that you still get the parking brake engaged when tightening. In fact, it is a good idea to use a brake cleaner to wash the threaded area of the axle when any grease have shown up.
Warnings
– Always be careful when working under your car. Make sure that you have made a proper usage of jack stands and engaged the correct parking brake to have a reliable working environment.
– When buying a new CV axle, you should consult the accessories department at any authorized dealerships to choose a product that would be compatible with your car.
Leave a Reply